Presbyopia Matching Method And Steps 2
The confirmation of down light add is a crucial step in presbyopia matching. In addition to the inspection of down light add mentioned in the previous article, it is also necessary to further fine tune and test the luminosity. Follow the steps below to start our operation.

1、 How to accurately adjust the adding light under presbyopia
After checking that the customer has presbyopia and needs optometry glasses after detecting that the customer is not suitable for wearing the finished presbyopia glasses, we need to further fine adjust the customer's lower brightness. The specific operation steps are as follows
Inspection steps:
First, use the method in the article of presbyopia matching method (I) to quickly check the presbyopia degree.
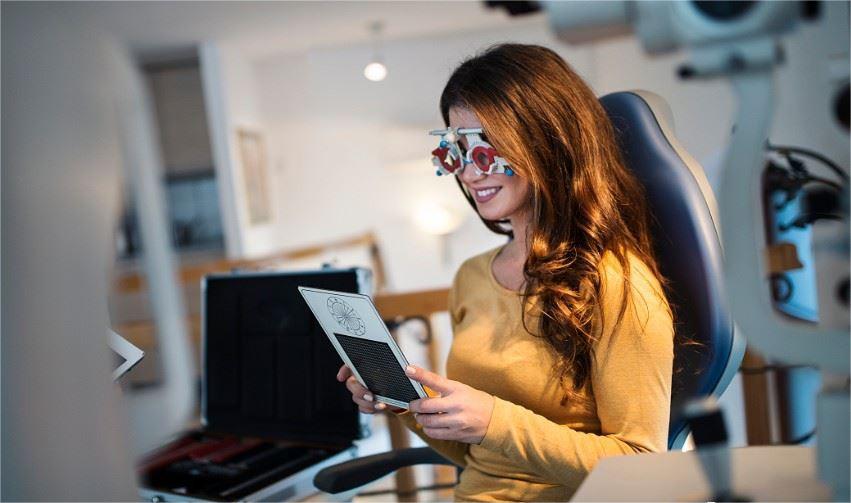
1. Take the proximity vision card and place it at the reading distance used by the customer. First measure the customer's best proximity vision and let the customer's eyes focus on the line of vision on the best vision at the same time;
2. First measure the negative relative accommodation, take out the positive retinoscopy rack set, adjust the close-up pupil distance, place it in front of the customer's eyes, and gradually increase the luminosity from + 0.25D until the visual target is blurred at the beginning. Minus + 0.25D is recorded as negative relative adjustment;
3. Then measure the positive relative accommodation, take out the negative retinoscopy rack set, adjust the close-up pupil distance, place it in front of the customer's eyes, gradually increase the luminosity from -0.25d until the visual target is blurred at the beginning, and minus -0.25d is recorded as positive relative adjustment;
If the degree of positive and negative relative accommodation is equal, it means that the addition under presbyopia is accurate and does not need to be adjusted.
If the positive and negative relative accommodation are not equal, divide the sum of the positive and negative relative accommodation by 2, and add the presbyopia add measured for the first time as the accurate add.
2、 How to finally check whether the next glazing is appropriate
How to verify the accuracy of the given luminosity after fine adjustment of the lower light add can be verified through the following steps
Inspection steps:
1. First, use the tools in the above steps to quickly and accurately adjust the brightness under presbyopia;
2. Insert the detected presbyopia intensities into the trial frame;
3. Let the customer hold the proximity video card or reading card and place it at the habitual reading distance; Let customers see the visual mark or text on the last line with their best eyesight.
4. Gradually move away, ask the customer whether they can keep seeing clearly, then return to the habitual reading distance, and then gradually move closer, and ask the customer whether they can keep seeing clearly;
a. If there is a certain clear range for moving far and near, it indicates that the lower addition is appropriate;
b. If the moving distance is clearer and the moving near is not clear, it indicates that the lower brightness is not enough, and it is necessary to increase + 0.25D and repeat the test;
c. If the moving closer is clearer and the moving farther is not clear, it indicates that the lower addition is too high, and it is necessary to reduce + 0.25D and repeat the test;
It is appropriate to have a clear range up to far and near


